Setting up Redshift Serverless
To use Redshift Spectrum, we need to create a Redshift Serverless environment. Redshift Serverless is suitable for querying data from S3/Glue without managing infrastructure.
Step 1: Access Redshift Console
- Open the Amazon Redshift console.
- In the Redshift Serverless area, start the workflow to create a new workgroup.
- When the Get started with Amazon Redshift Serverless screen appears, choose Customize settings instead of using the default quick setup.
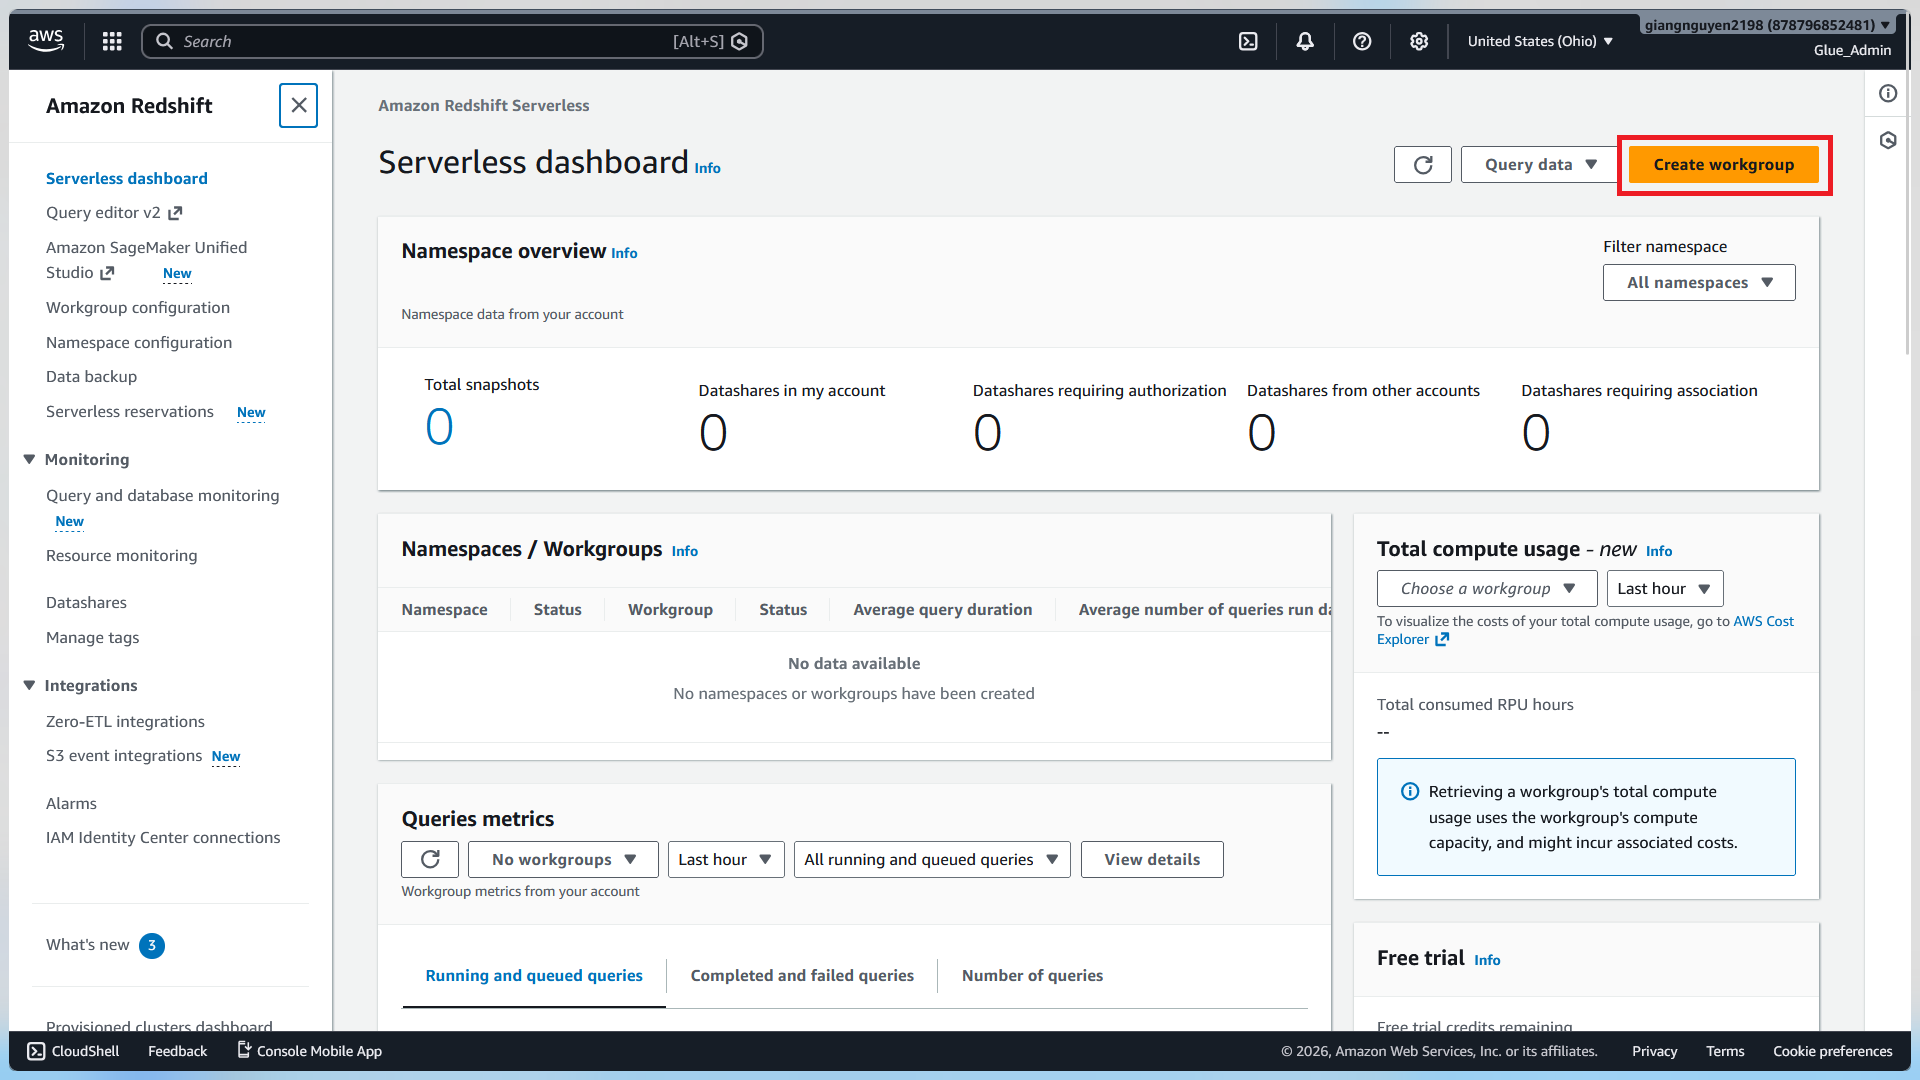
We choose Customize settings because this workshop needs a lower-cost compute size, the correct IAM role for Spectrum, and network options that still allow later BI connectivity.
Step 2: Start the Custom Setup Flow
At this point, Redshift opens the guided creation flow. Instead of filling everything quickly, treat this setup as three checkpoints:
- Workgroup settings: define compute, networking, and accessibility
- Namespace settings: define the logical database environment and IAM permissions
- Review and create: confirm all important values before provisioning
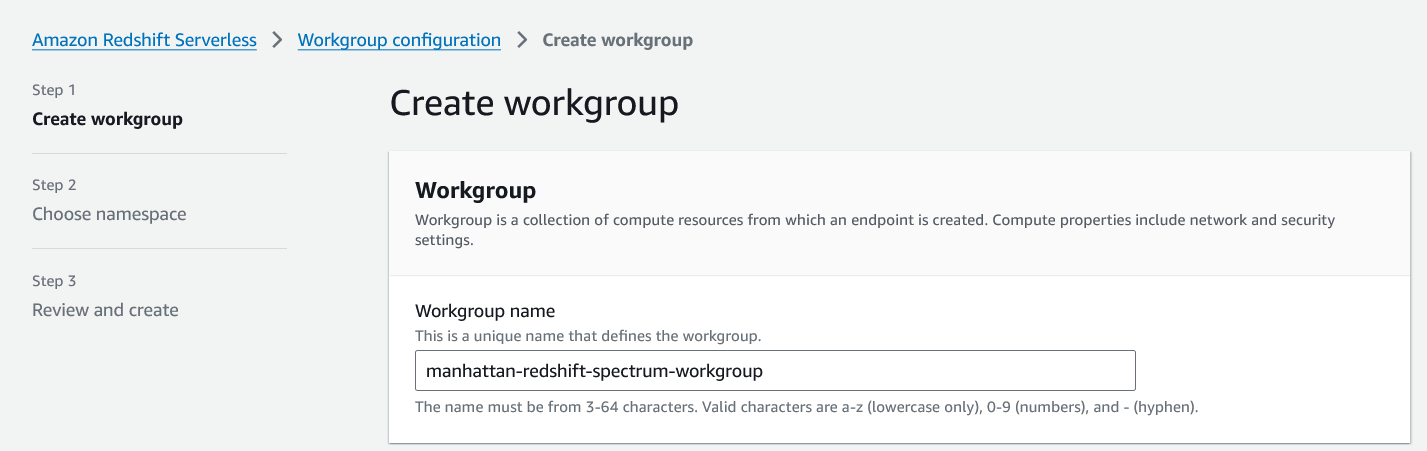
This structure is important because Redshift Serverless separates:
- the workgroup, which controls how the compute environment runs
- the namespace, which controls the database context and attached IAM roles
Understanding that separation makes the later Redshift Spectrum configuration much easier.
Step 3: Configure the Workgroup
The first screen focuses on how the Redshift Serverless compute environment should behave.
3.1 Set the Workgroup Identity
Enter the workgroup name:
- Workgroup name:
manhattan-redshift-workgroup
This name does not affect query logic directly, but it matters for operations and troubleshooting. Using a clear, project-specific name helps you identify the correct environment later when connecting Query Editor v2, QuickSight, or reviewing logs and permissions.
3.2 Reduce Base Capacity for Cost Control
In the performance section, change:
- Base capacity: from the default value to
4 RPU
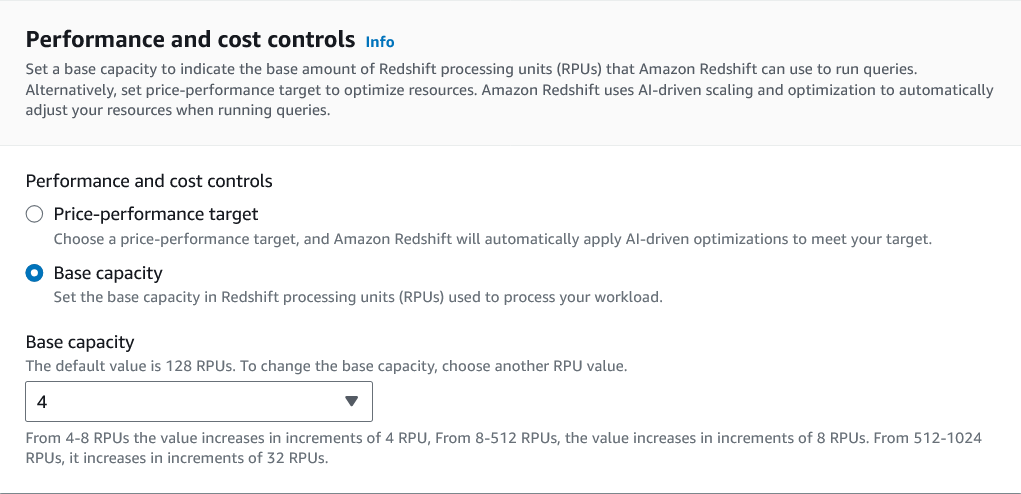
Why 4 RPU?
- This workshop mainly runs demo and validation queries, not heavy warehouse workloads.
- Redshift Spectrum queries processed data from S3 through the Glue Catalog, so we do not need a large compute baseline.
- A lower base capacity protects AWS credits and reduces the chance of unnecessary cost during hands-on practice.
For workshop and lab scenarios, 4 RPU is usually enough to verify connectivity, browse metadata, and run representative SQL without overprovisioning.
3.3 Keep Autonomics and Defaults Conservative
Review the automatic scaling-related options on the same screen.
- Autonomics / extra compute: keep the conservative or default option
- Limits (optional): leave empty unless you want to enforce a hard upper RPU cap
- Track: keep the current/default setting unless your account requires something different
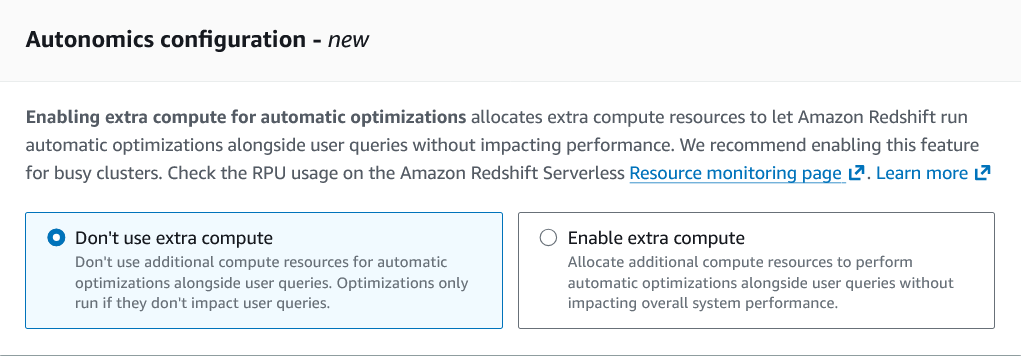
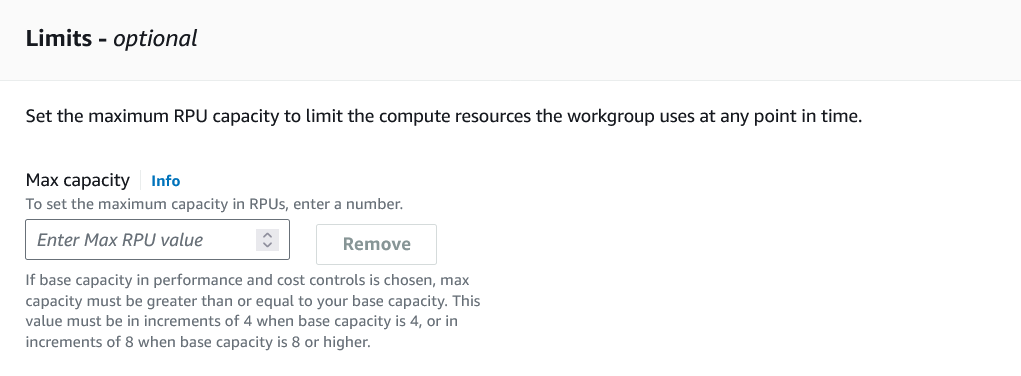
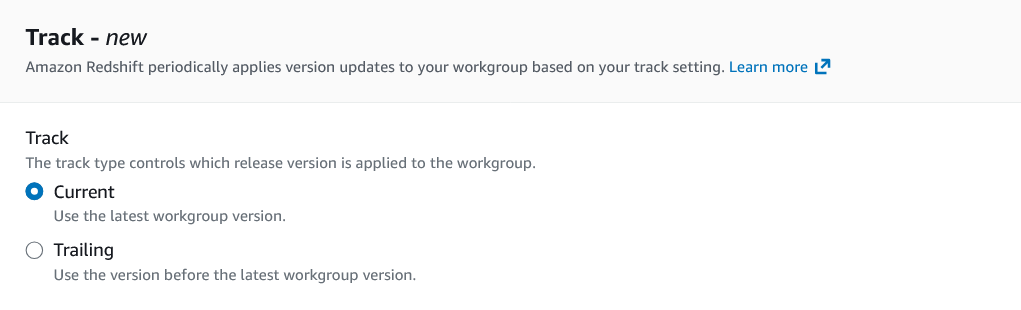
The goal here is predictability. For a workshop, we prefer stable and low-cost behavior over aggressive automatic scaling.
3.4 Configure Network and Access Carefully
Move to the networking area and review these fields:
- IP access type:
IPv4 - VPC: keep the default VPC unless your workshop environment requires a dedicated one
- Security group: keep the default security group for now
- Subnet selection: keep the automatically selected/default subnets
- Enhanced VPC routing: leave disabled
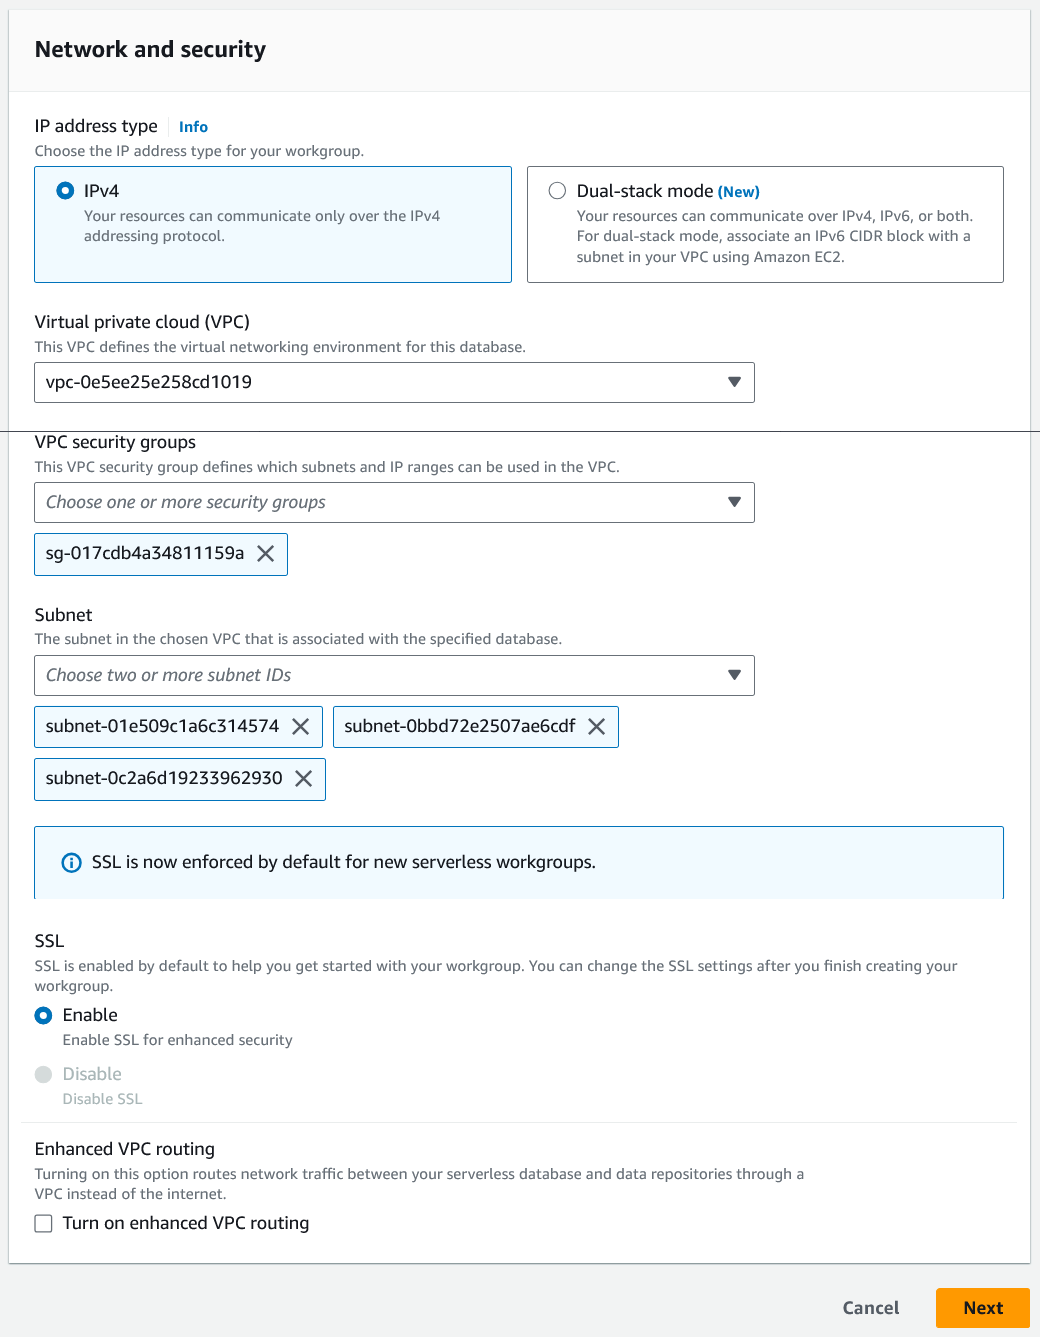
Why these choices matter:
- Keeping the default VPC and default subnets simplifies the setup for a workshop environment.
- Leaving Enhanced VPC routing disabled avoids adding unnecessary networking complexity at this stage.
- The selected security group can be adjusted later if you need to open port
5439for external BI connectivity.
3.5 Keep the Workgroup Reachable for Later BI Tools
In the final part of the workgroup configuration, pay special attention to public connectivity.
- Publicly accessible: enable it if this workshop later connects from external tools such as Query Editor v2 or QuickSight through public networking
This is one of the most practical settings in the whole flow. If public accessibility is disabled, later integration steps may fail even if the IAM role and database objects are correct.
After checking the workgroup settings, click Next.
Step 4: Configure the Namespace and IAM Permissions
The next screen defines the logical database environment used by the workgroup.
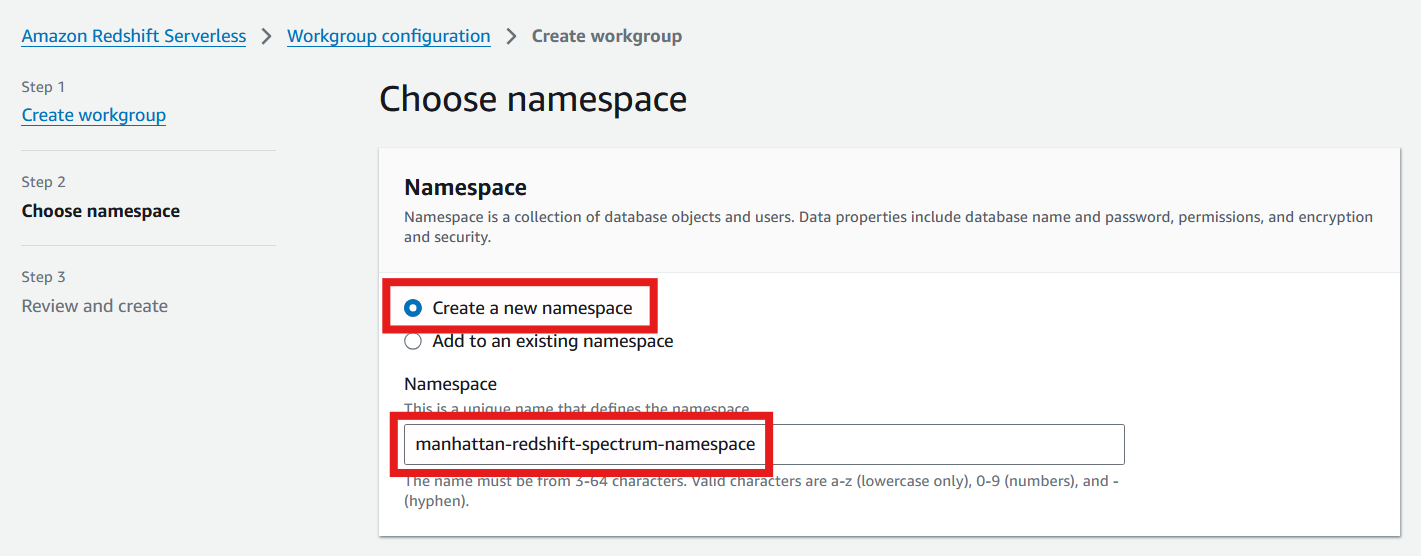
4.1 Create a Consistent Namespace
Fill in the namespace section with:
- Namespace name:
manhattan-redshift-namespace
- Database name:
dev
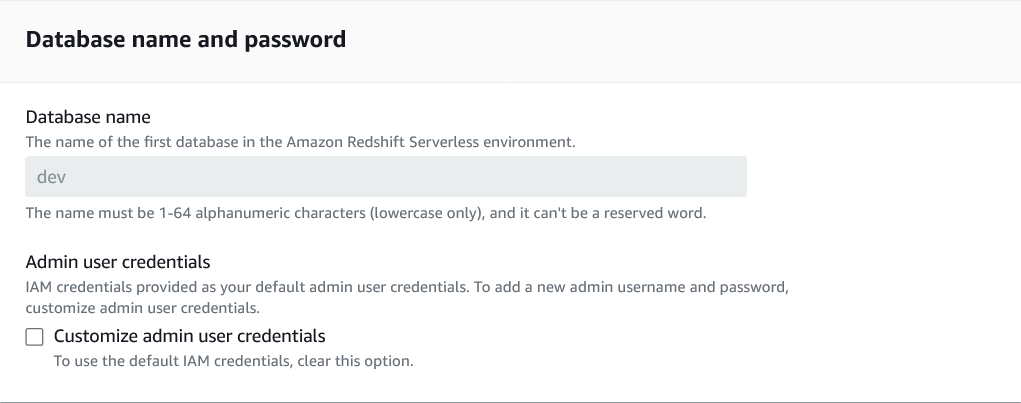
Why keep dev?
devis the common default database name in Redshift examples and tooling.- Later SQL instructions in many workshop environments assume that this database already exists.
- Keeping the default reduces friction when using Query Editor and sample commands.
4.2 Attach the IAM Role Redshift Spectrum Needs
This is the most important part of the namespace screen.
Open the IAM role management flow and associate the role that allows Redshift to read:
- the processed files in Amazon S3
- the schema metadata in AWS Glue Data Catalog
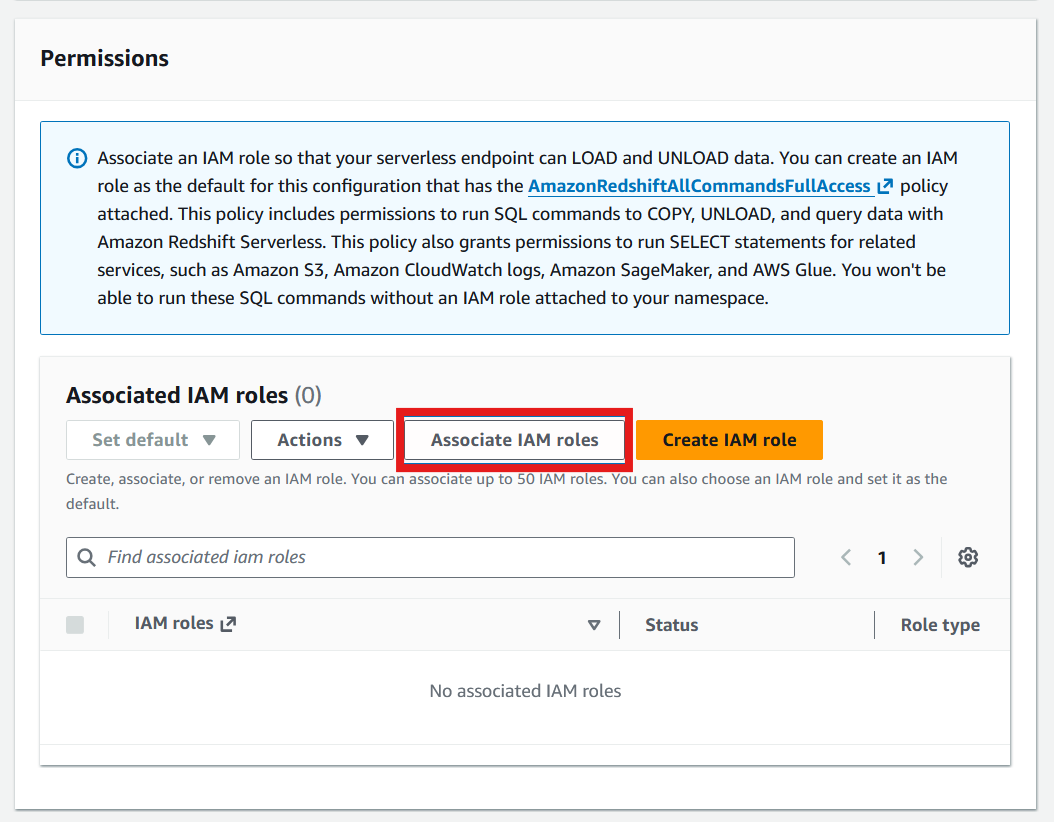
Then continue the role association process.
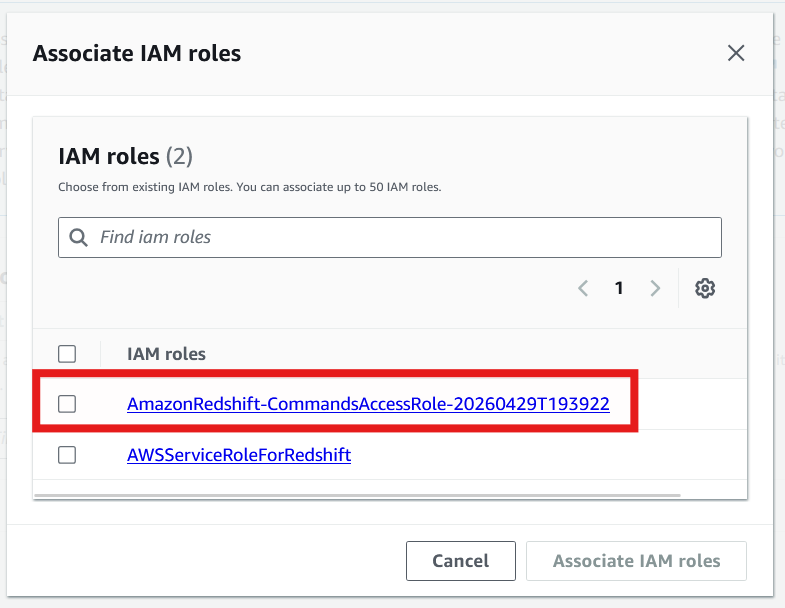
After the role is attached, make sure it appears as an associated role for the namespace.
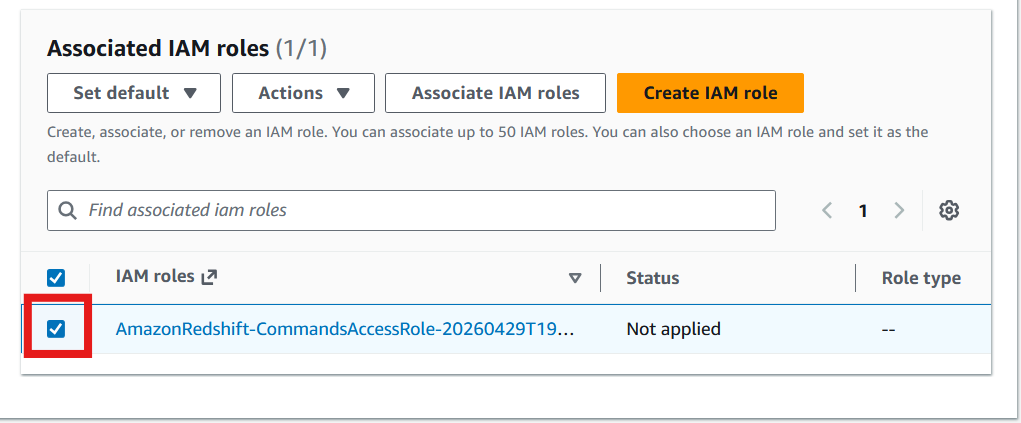
Without the correct IAM role, Redshift Spectrum can create connections but still fail to read external schemas, Glue metadata, or S3-backed datasets.
4.3 Keep Encryption on the Managed Default
Review the encryption settings:
- keep the AWS-managed/default Redshift encryption option unless your organization requires a customer-managed KMS key
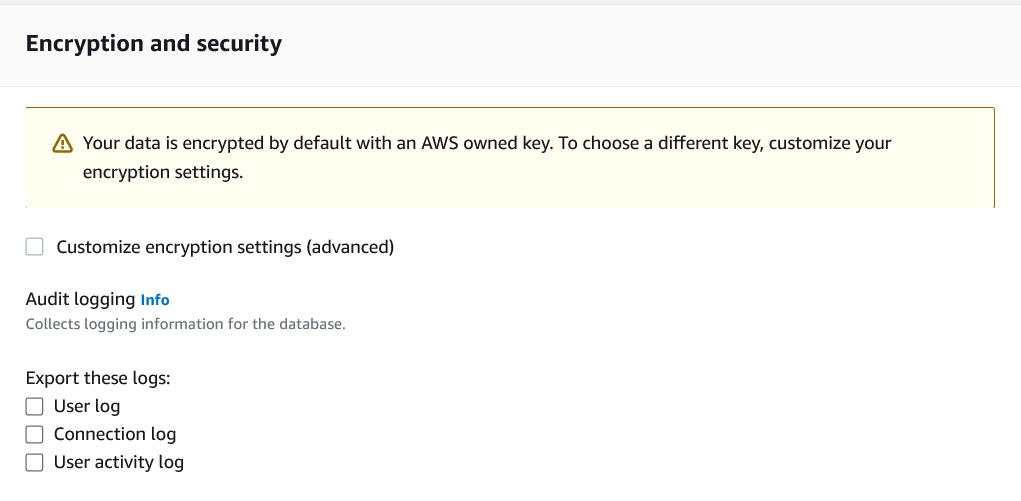
This is the right choice for a workshop because:
- it is secure by default
- it avoids extra KMS setup work
- it keeps the tutorial focused on analytics, not key management
4.4 Confirm Namespace Inputs and Continue
Before moving on, quickly verify:
- namespace name is correct
- database name remains
dev - IAM role is attached successfully
Then click Next to continue to the review page.
Step 5: Review Everything Before Creation
The final screen is where you verify that the workgroup and namespace settings match the architecture of this workshop.
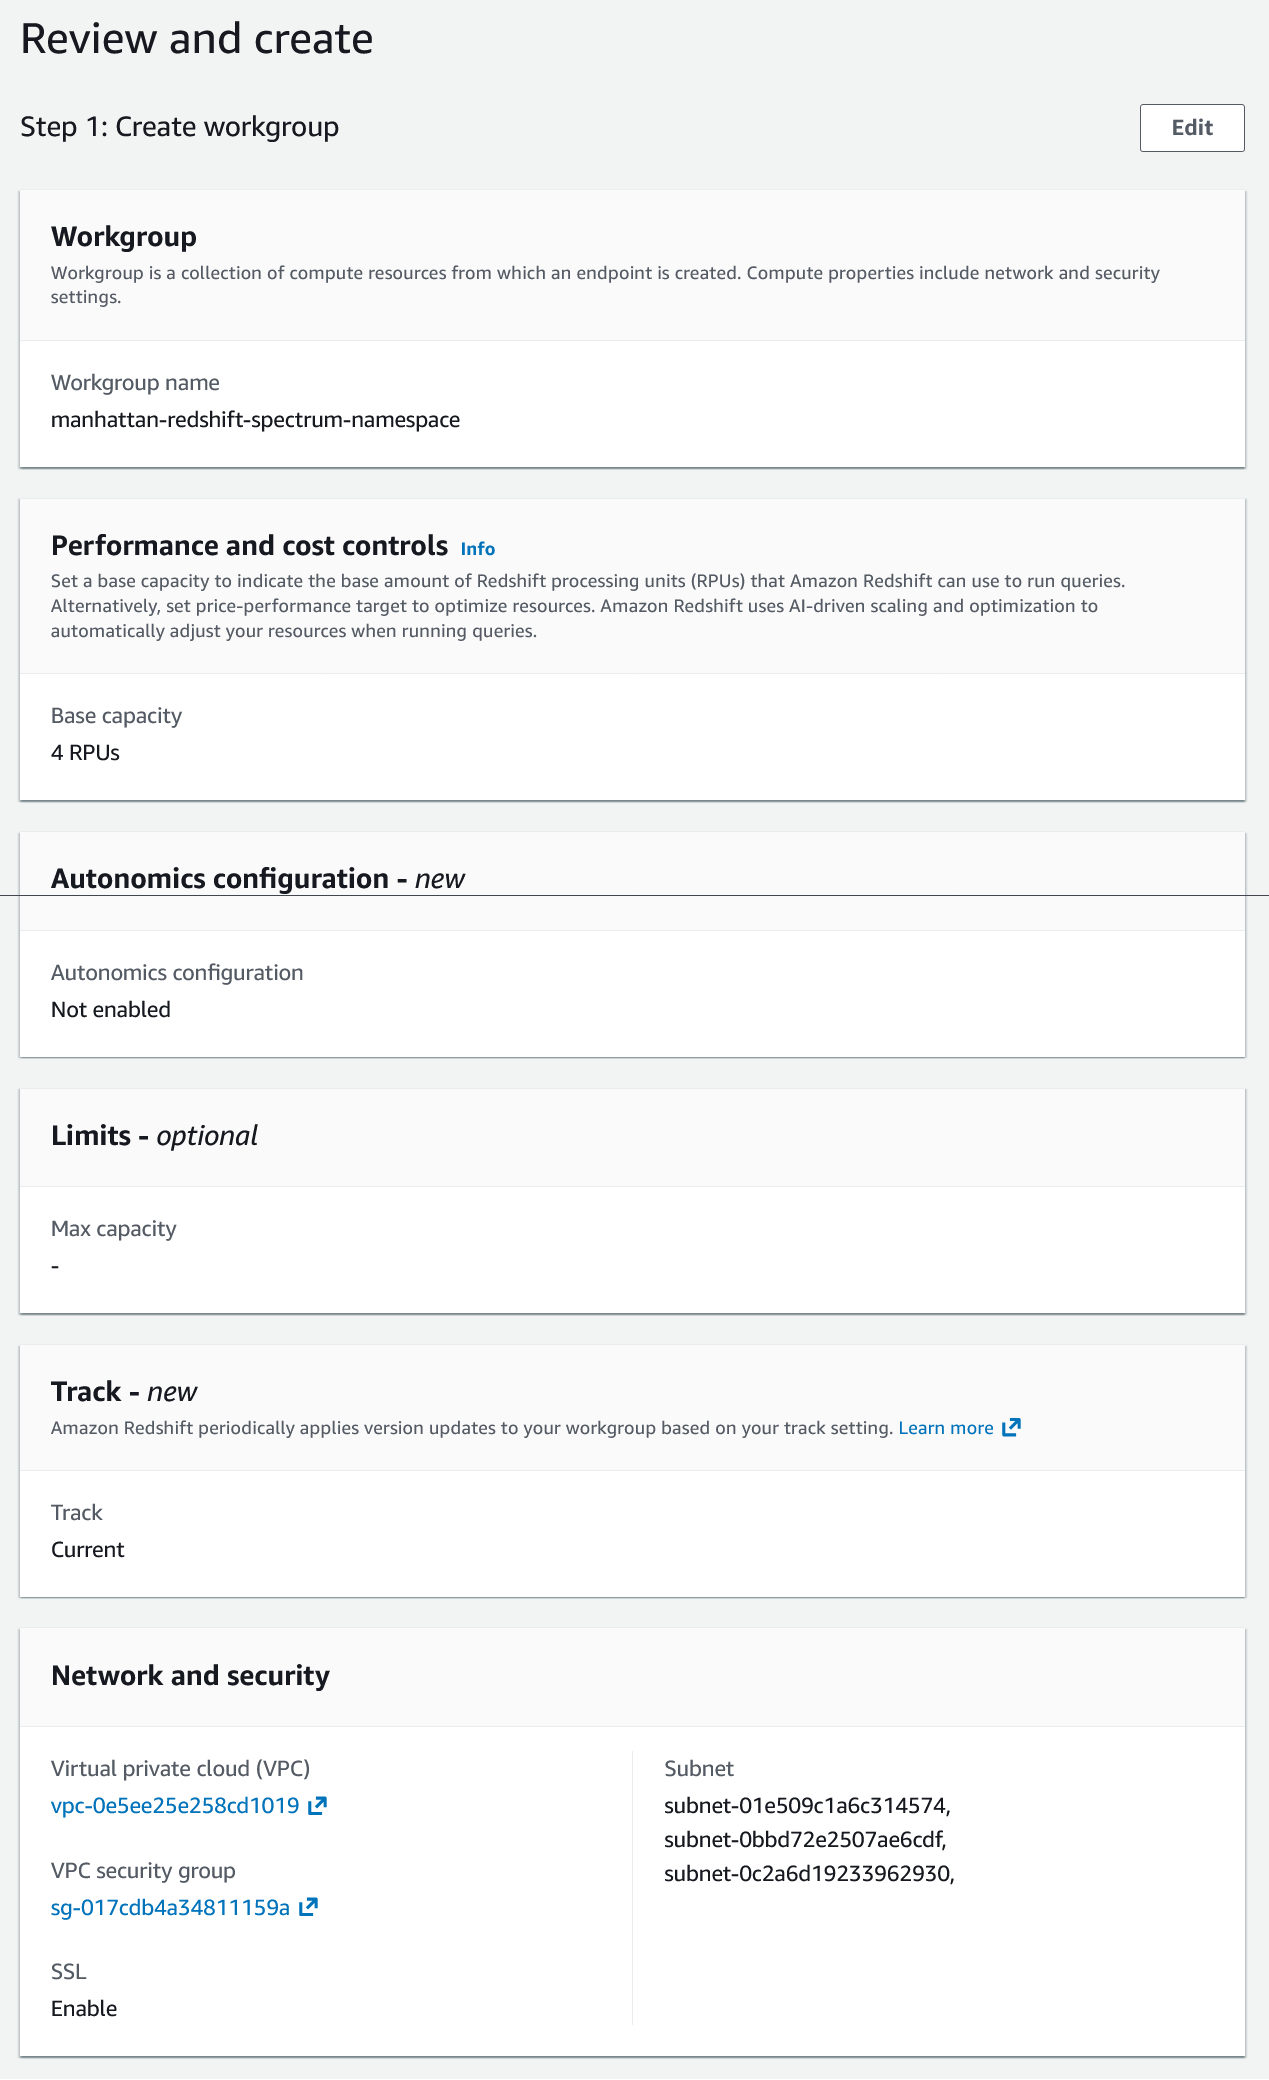
Use this checklist before creating the environment:
- Workgroup name =
manhattan-redshift-workgroup - Base capacity =
4 RPU - Public accessibility = enabled when external BI connectivity is needed
- Enhanced VPC routing = disabled
- Namespace name =
manhattan-redshift-namespace - Database name =
dev - IAM role = attached and ready for S3 + Glue access
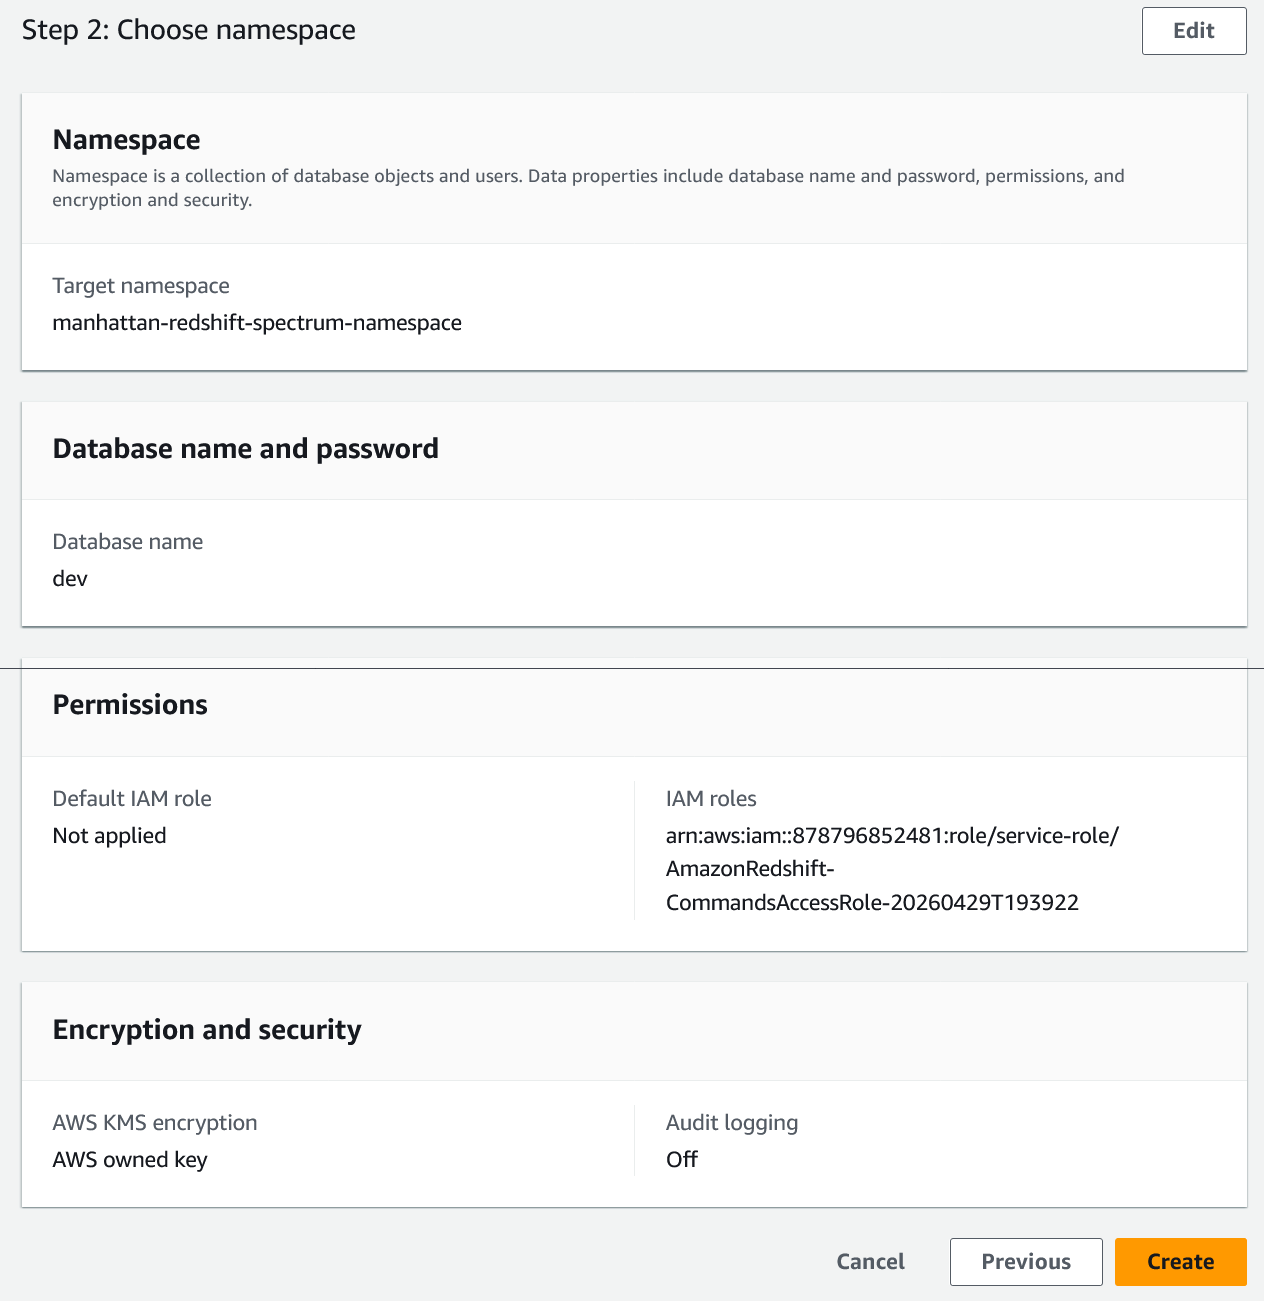
If everything looks correct, click Create workgroup.
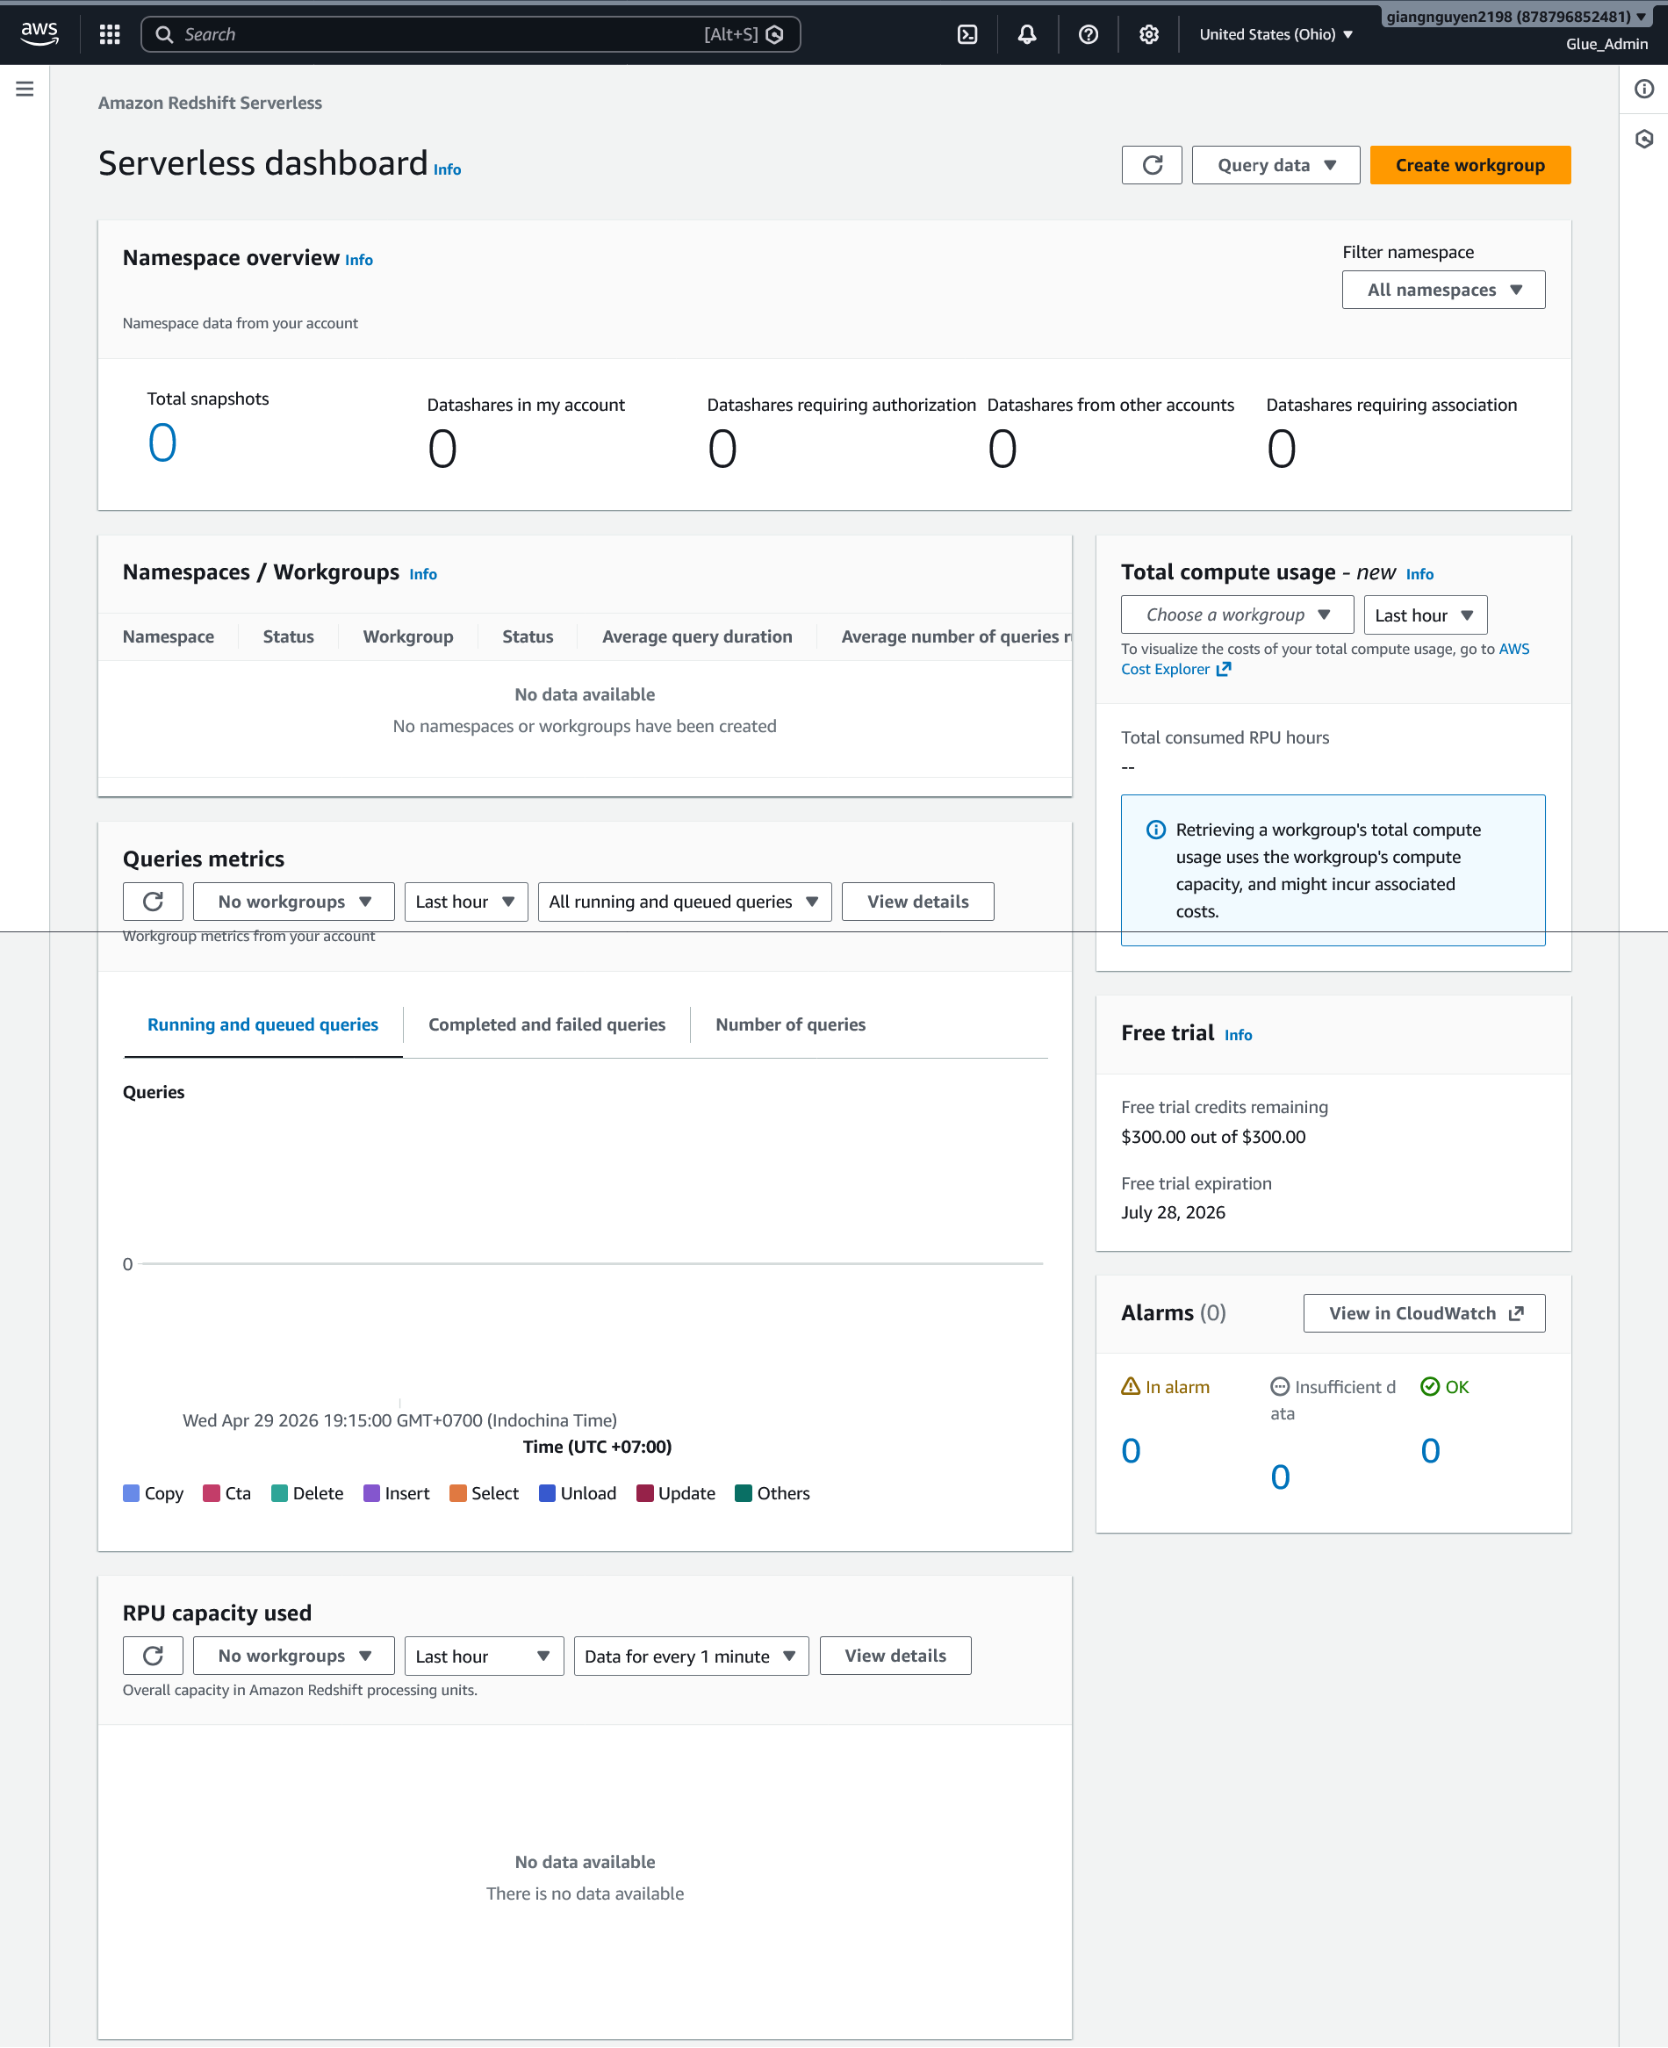
Step 6: Wait for the Environment to Become Available
After creation, AWS provisions both the namespace and the workgroup. This usually takes a few minutes.
Wait until the workgroup status becomes Available.

Why This Configuration
- 4 RPU capacity sufficient for test queries without high costs
- IAM role with necessary S3/Glue read permissions
- Public access can be enabled to support later BI connectivity when the workshop uses external tools