Set up AWS Step Functions (State Machine) to Orchestrate the Pipeline
Objectives
Build an orchestrator using AWS Step Functions to automate the entire workflow. This state machine will execute the following sequence:
- Call the AWS Glue Crawler to refresh the latest schema from S3.
- Continuously poll the crawler status to check whether it has finished.
- Once the crawler completes successfully, automatically trigger the AWS Glue ETL Job to process the data.
Architecture Logic Overview
Unlike Glue Jobs, which support synchronous integration with .sync, the Glue Crawler API is asynchronous. That means when we click “Start”, it returns immediately even though the crawler is still running in the background. Because of that, our state machine needs a loop to check the crawler status:
- Start Crawler: Start the crawler.
- Wait: Pause for 30 seconds to avoid excessive API calls and throttling.
- Get Crawler Status: Retrieve the current crawler status.
- Choice (Check Status): Evaluate the status.
- If it is
RUNNINGorSTOPPING-> return to Wait. - If it has completed (
READY) -> move to the next step. - Run ETL Job: Trigger the Glue Job using the
.syncsuffix. At this point, Step Functions automatically waits until the job finishes. If the job fails, the entire state machine is marked FAILED (and it will trigger the EventBridge alert rule through SNS that we set up in the next section).
Detailed AWS Step Functions Setup
Step 1: Open AWS Step Functions
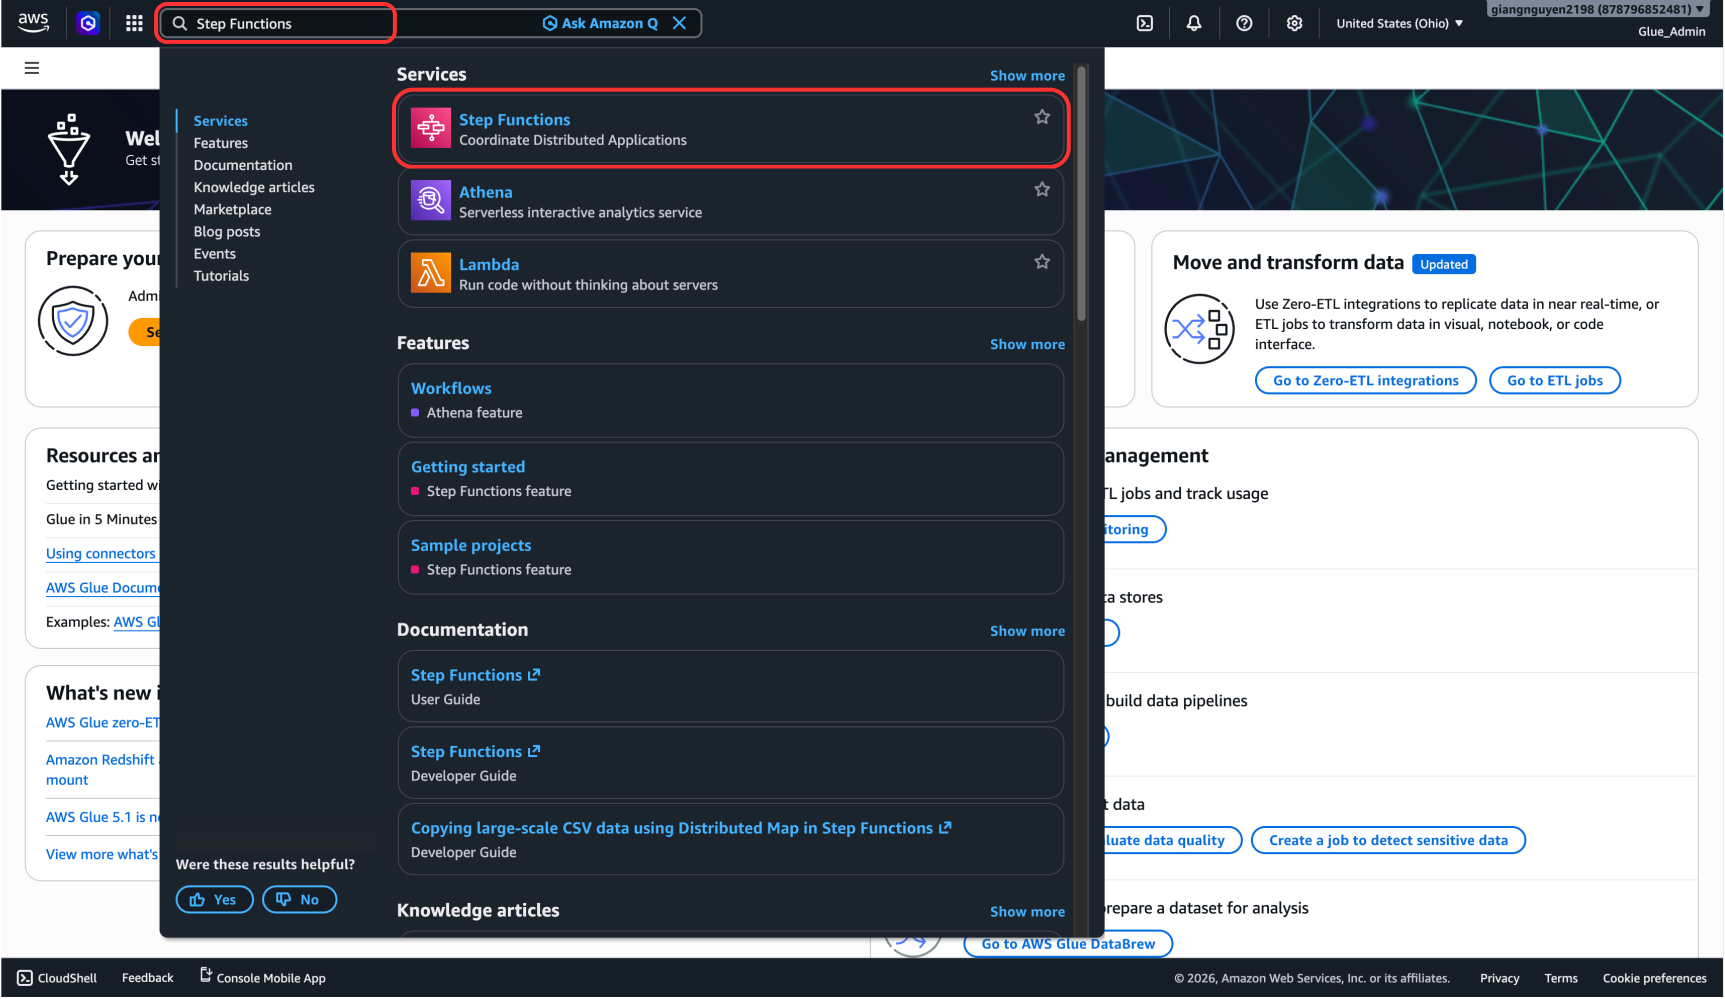
In the AWS Console search bar, search for and select Step Functions.
Step 2: Create the State Machine
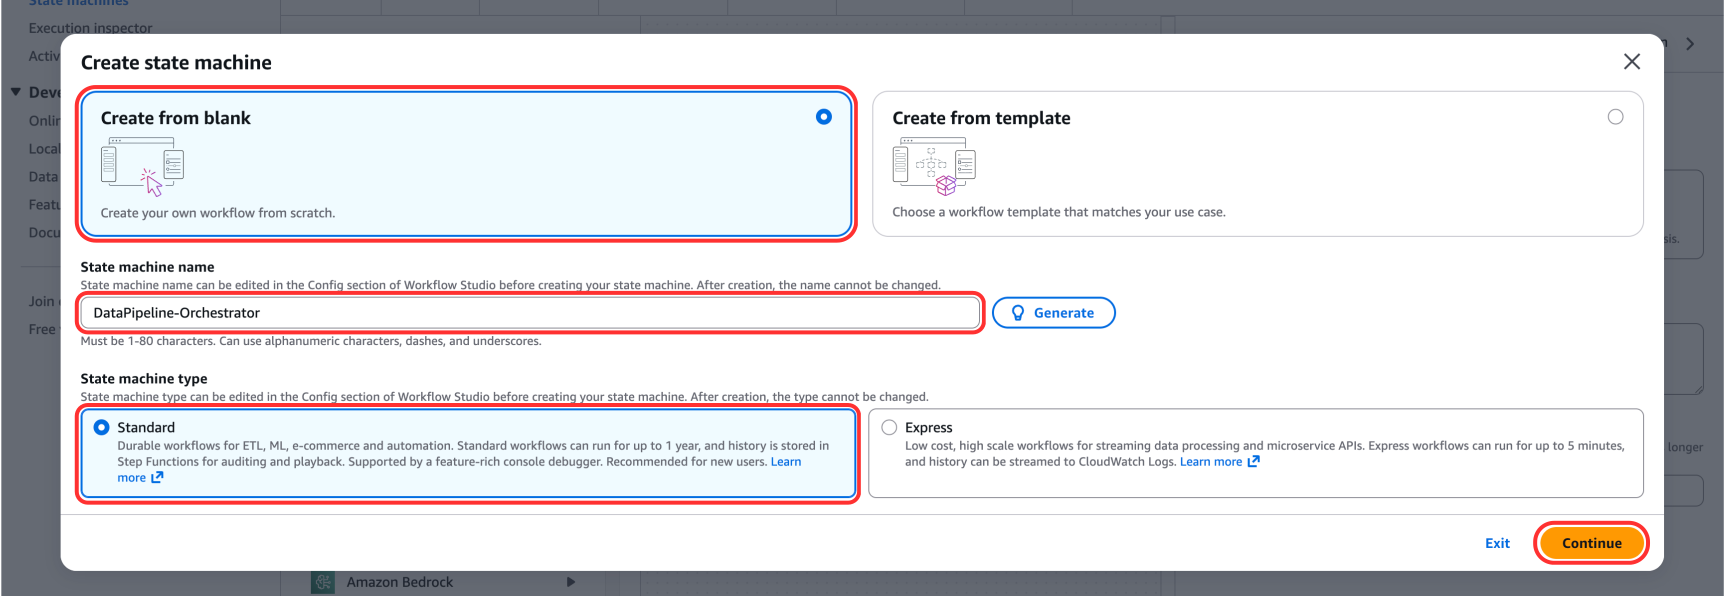
- Click Create state machine.

- On the Create state machine screen:
- Choose Create from blank
- State machine name: Enter
DataPipeline-Orchestrator. - Type: Keep Standard.
- Click Continue
Step 3: Configure the Logic with ASL (Amazon States Language)
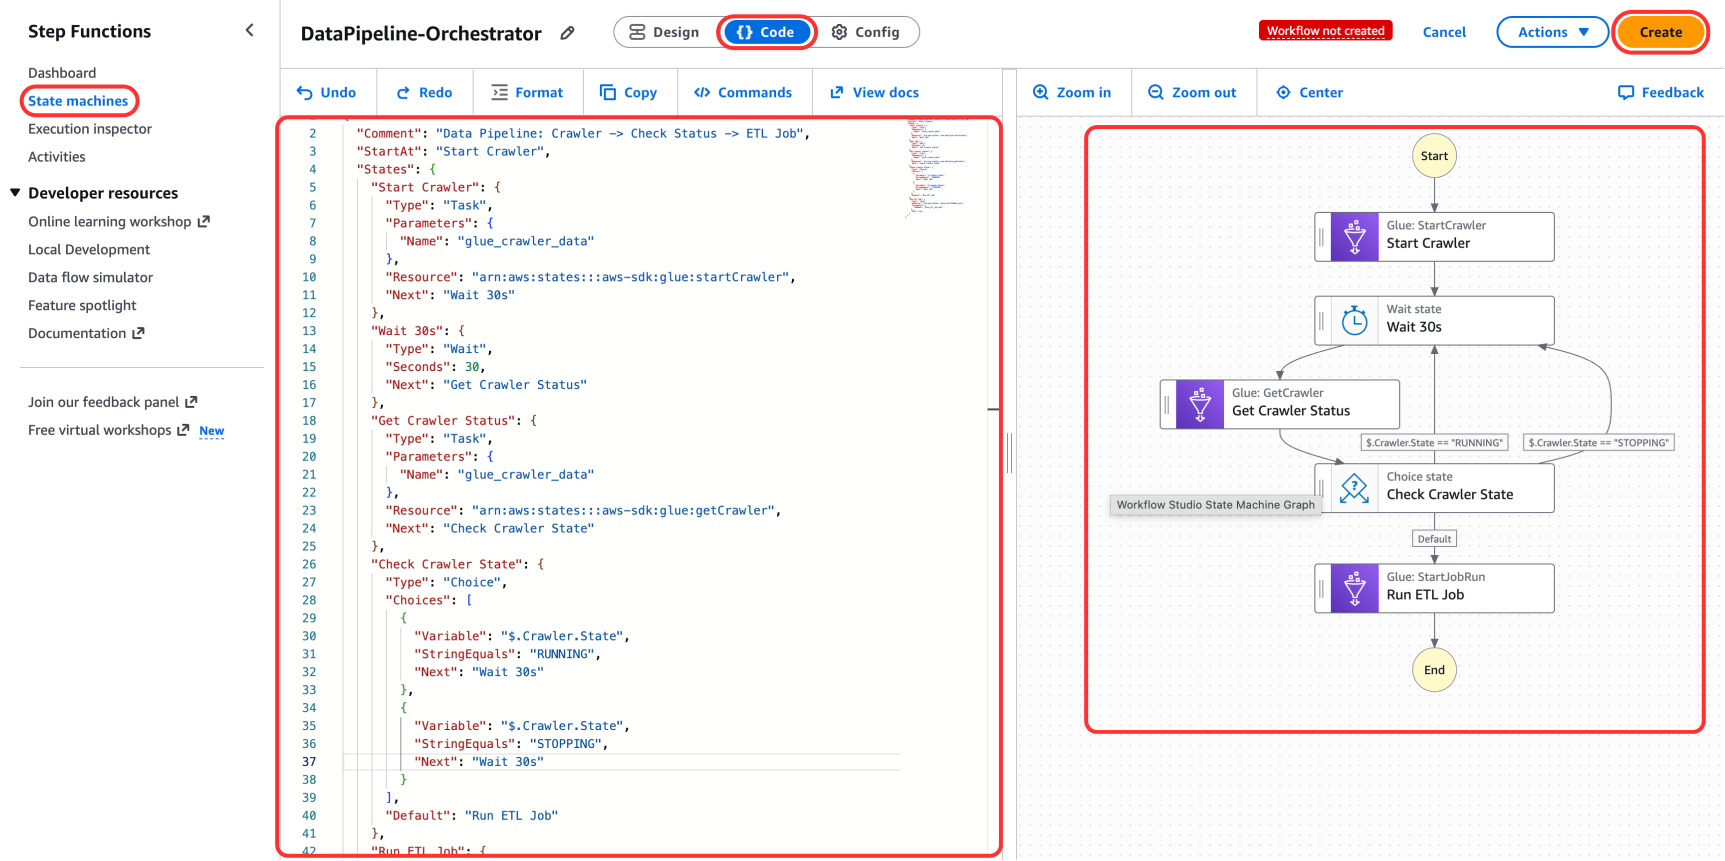
Instead of dragging and dropping each block manually in Workflow Studio, you can define the entire workflow in a few seconds by pasting the code.
- In Workflow Studio, look at the upper-left corner and switch from the Design tab to the Code tab.
- Delete the default code in the editor.
- Copy and paste the JSON code below:
{
	"Comment": "Data Pipeline: Crawler -> Check Status -> ETL Job",
	"StartAt": "Start Crawler",
	"States": {
		"Start Crawler": {
			"Type": "Task",
			"Parameters": {
				"Name": "TEN_CRAWLER_CUA_BAN"
			},
			"Resource": "arn:aws:states:::aws-sdk:glue:startCrawler",
			"Next": "Wait 30s"
		},
		"Wait 30s": {
			"Type": "Wait",
			"Seconds": 30,
			"Next": "Get Crawler Status"
		},
		"Get Crawler Status": {
			"Type": "Task",
			"Parameters": {
				"Name": "TEN_CRAWLER_CUA_BAN"
			},
			"Resource": "arn:aws:states:::aws-sdk:glue:getCrawler",
			"Next": "Check Crawler State"
		},
		"Check Crawler State": {
			"Type": "Choice",
			"Choices": [
				{
					"Variable": "$.Crawler.State",
					"StringEquals": "RUNNING",
					"Next": "Wait 30s"
				},
				{
					"Variable": "$.Crawler.State",
					"StringEquals": "STOPPING",
					"Next": "Wait 30s"
				}
			],
			"Default": "Run ETL Job"
		},
		"Run ETL Job": {
			"Type": "Task",
			"Resource": "arn:aws:states:::glue:startJobRun.sync",
			"Parameters": {
				"JobName": "TEN_GLUE_JOB_CUA_BAN"
			},
			"End": true
		}
	}
}
IMPORTANT UPDATE: You MUST find and replace the strings TEN_CRAWLER_CUA_BAN (in 2 places) and TEN_GLUE_JOB_CUA_BAN (in 1 place) in the code above with the exact crawler and ETL job names that you created in sections 4.1 and 4.3.
TEN_CRAWLER_CUA_BAN: glue_crawler_data
TEN_GLUE_JOB_CUA_BAN: glue_etl_job_taxi
- Click Create
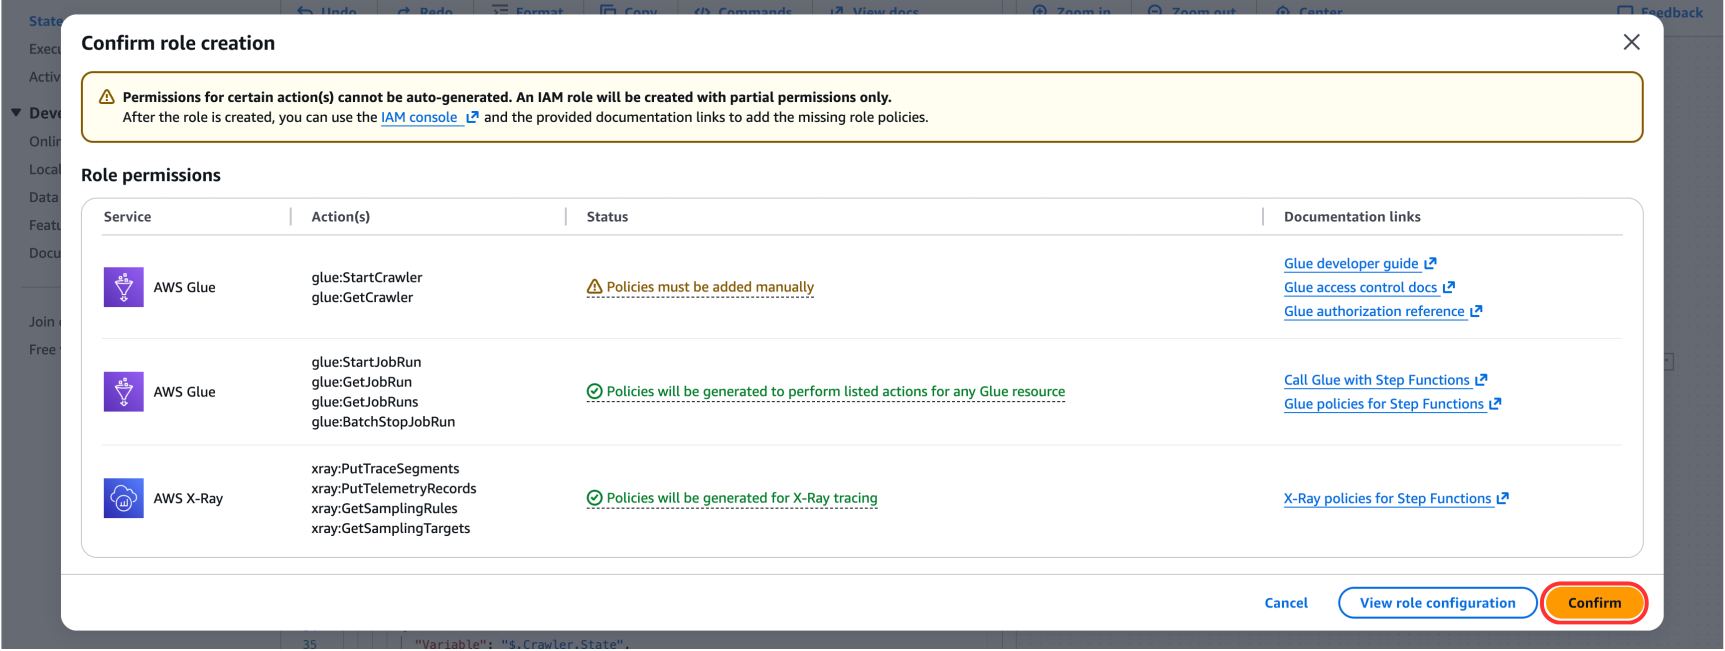
- In Confirm role creation, click Confirm
Step 4: Verify the State Machine was successfully created
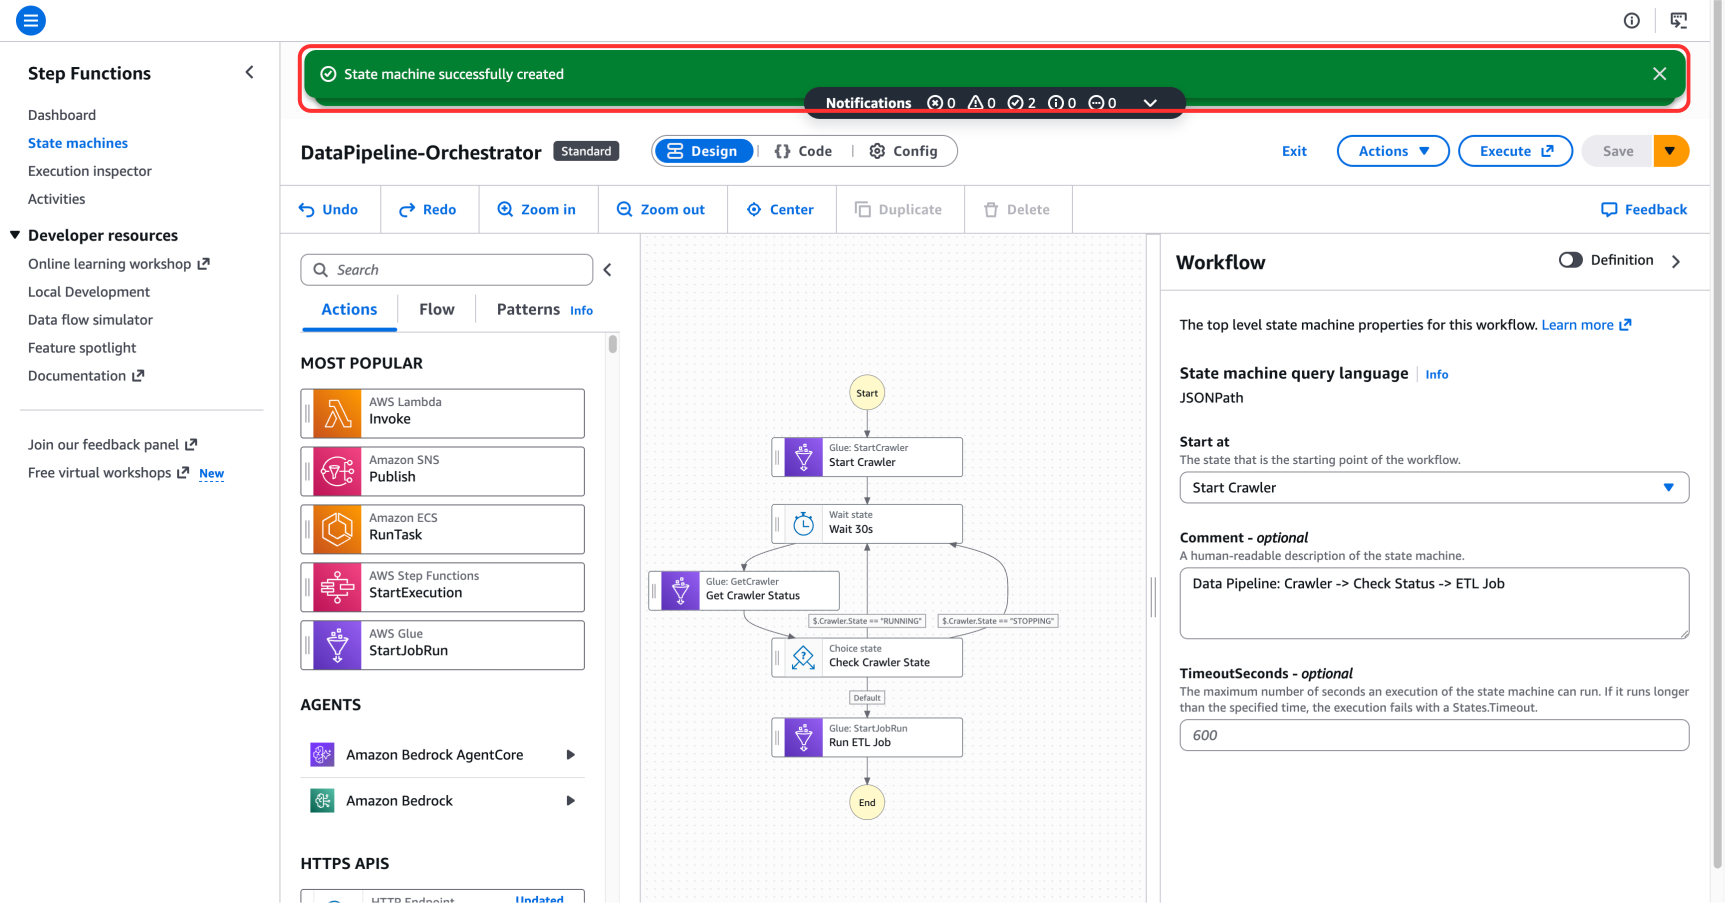
Done!
Great job! You now have a complete orchestrator (State Machine). It will start the crawler for you, wait patiently, and once the data is ready, it will trigger the Glue ETL Job.
Now that you have this Target (State Machine) in your account, go back to Step 4.4.2 to finish wiring up the EventBridge Rules automation from the previous section!